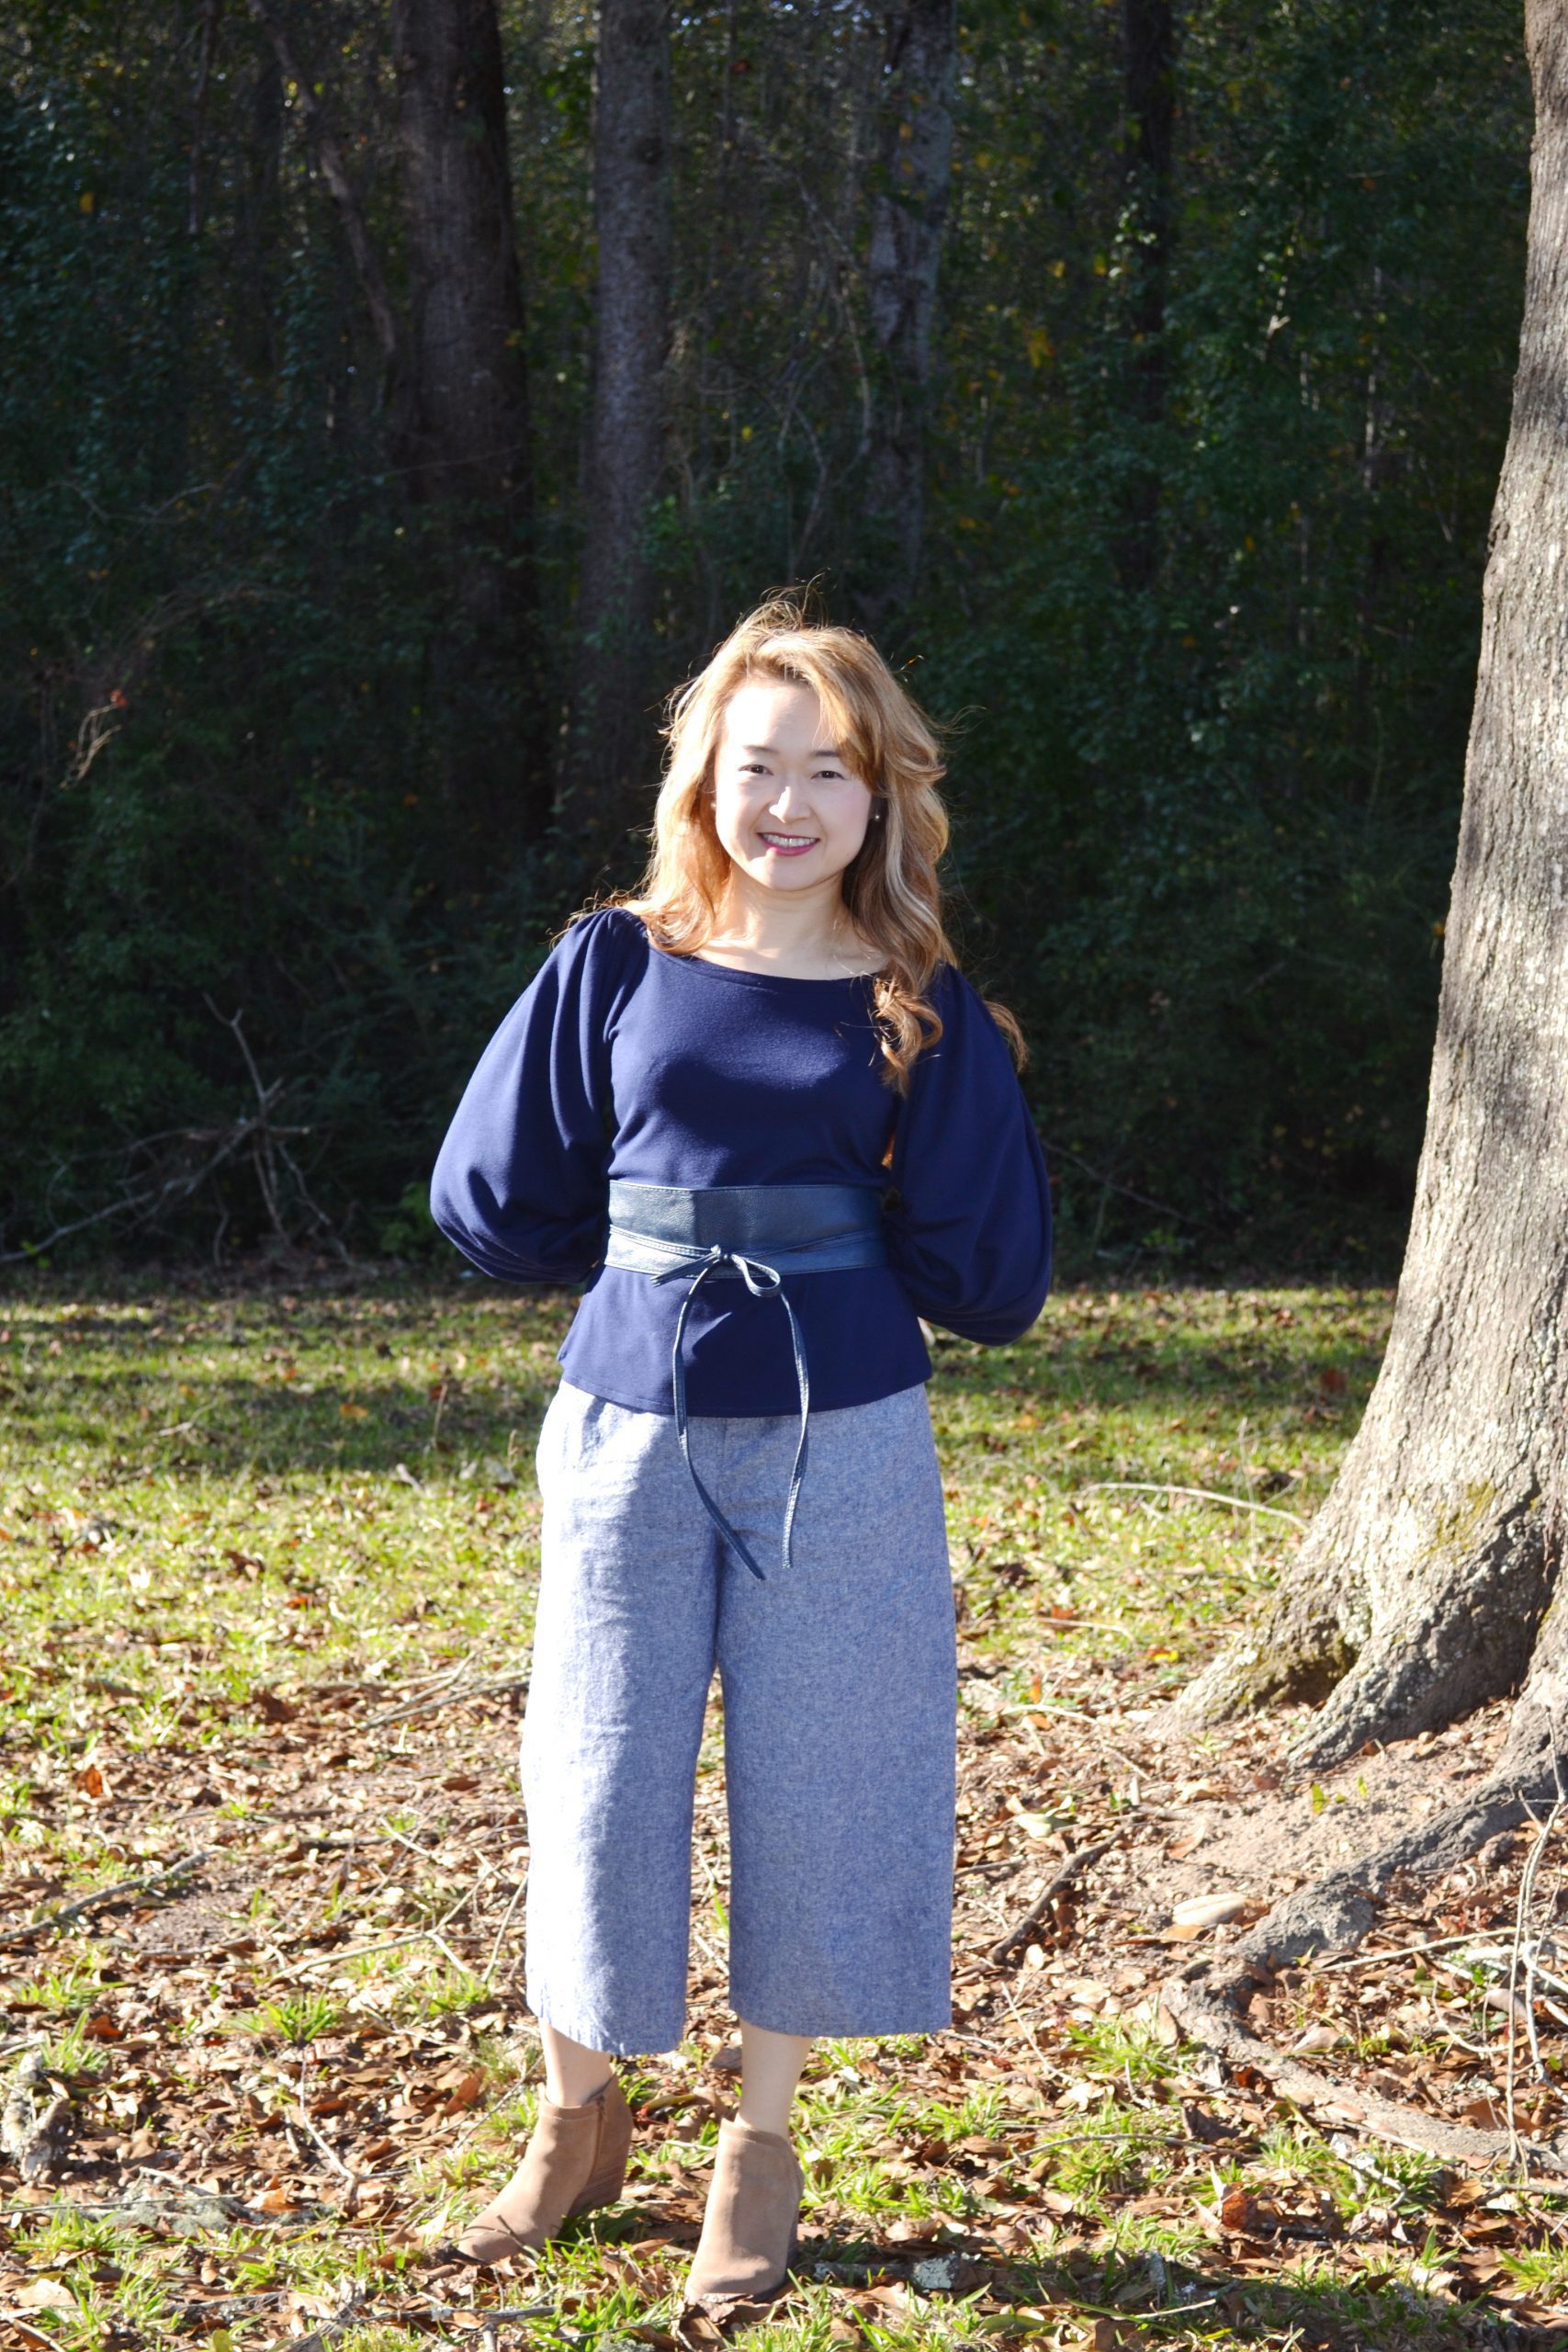
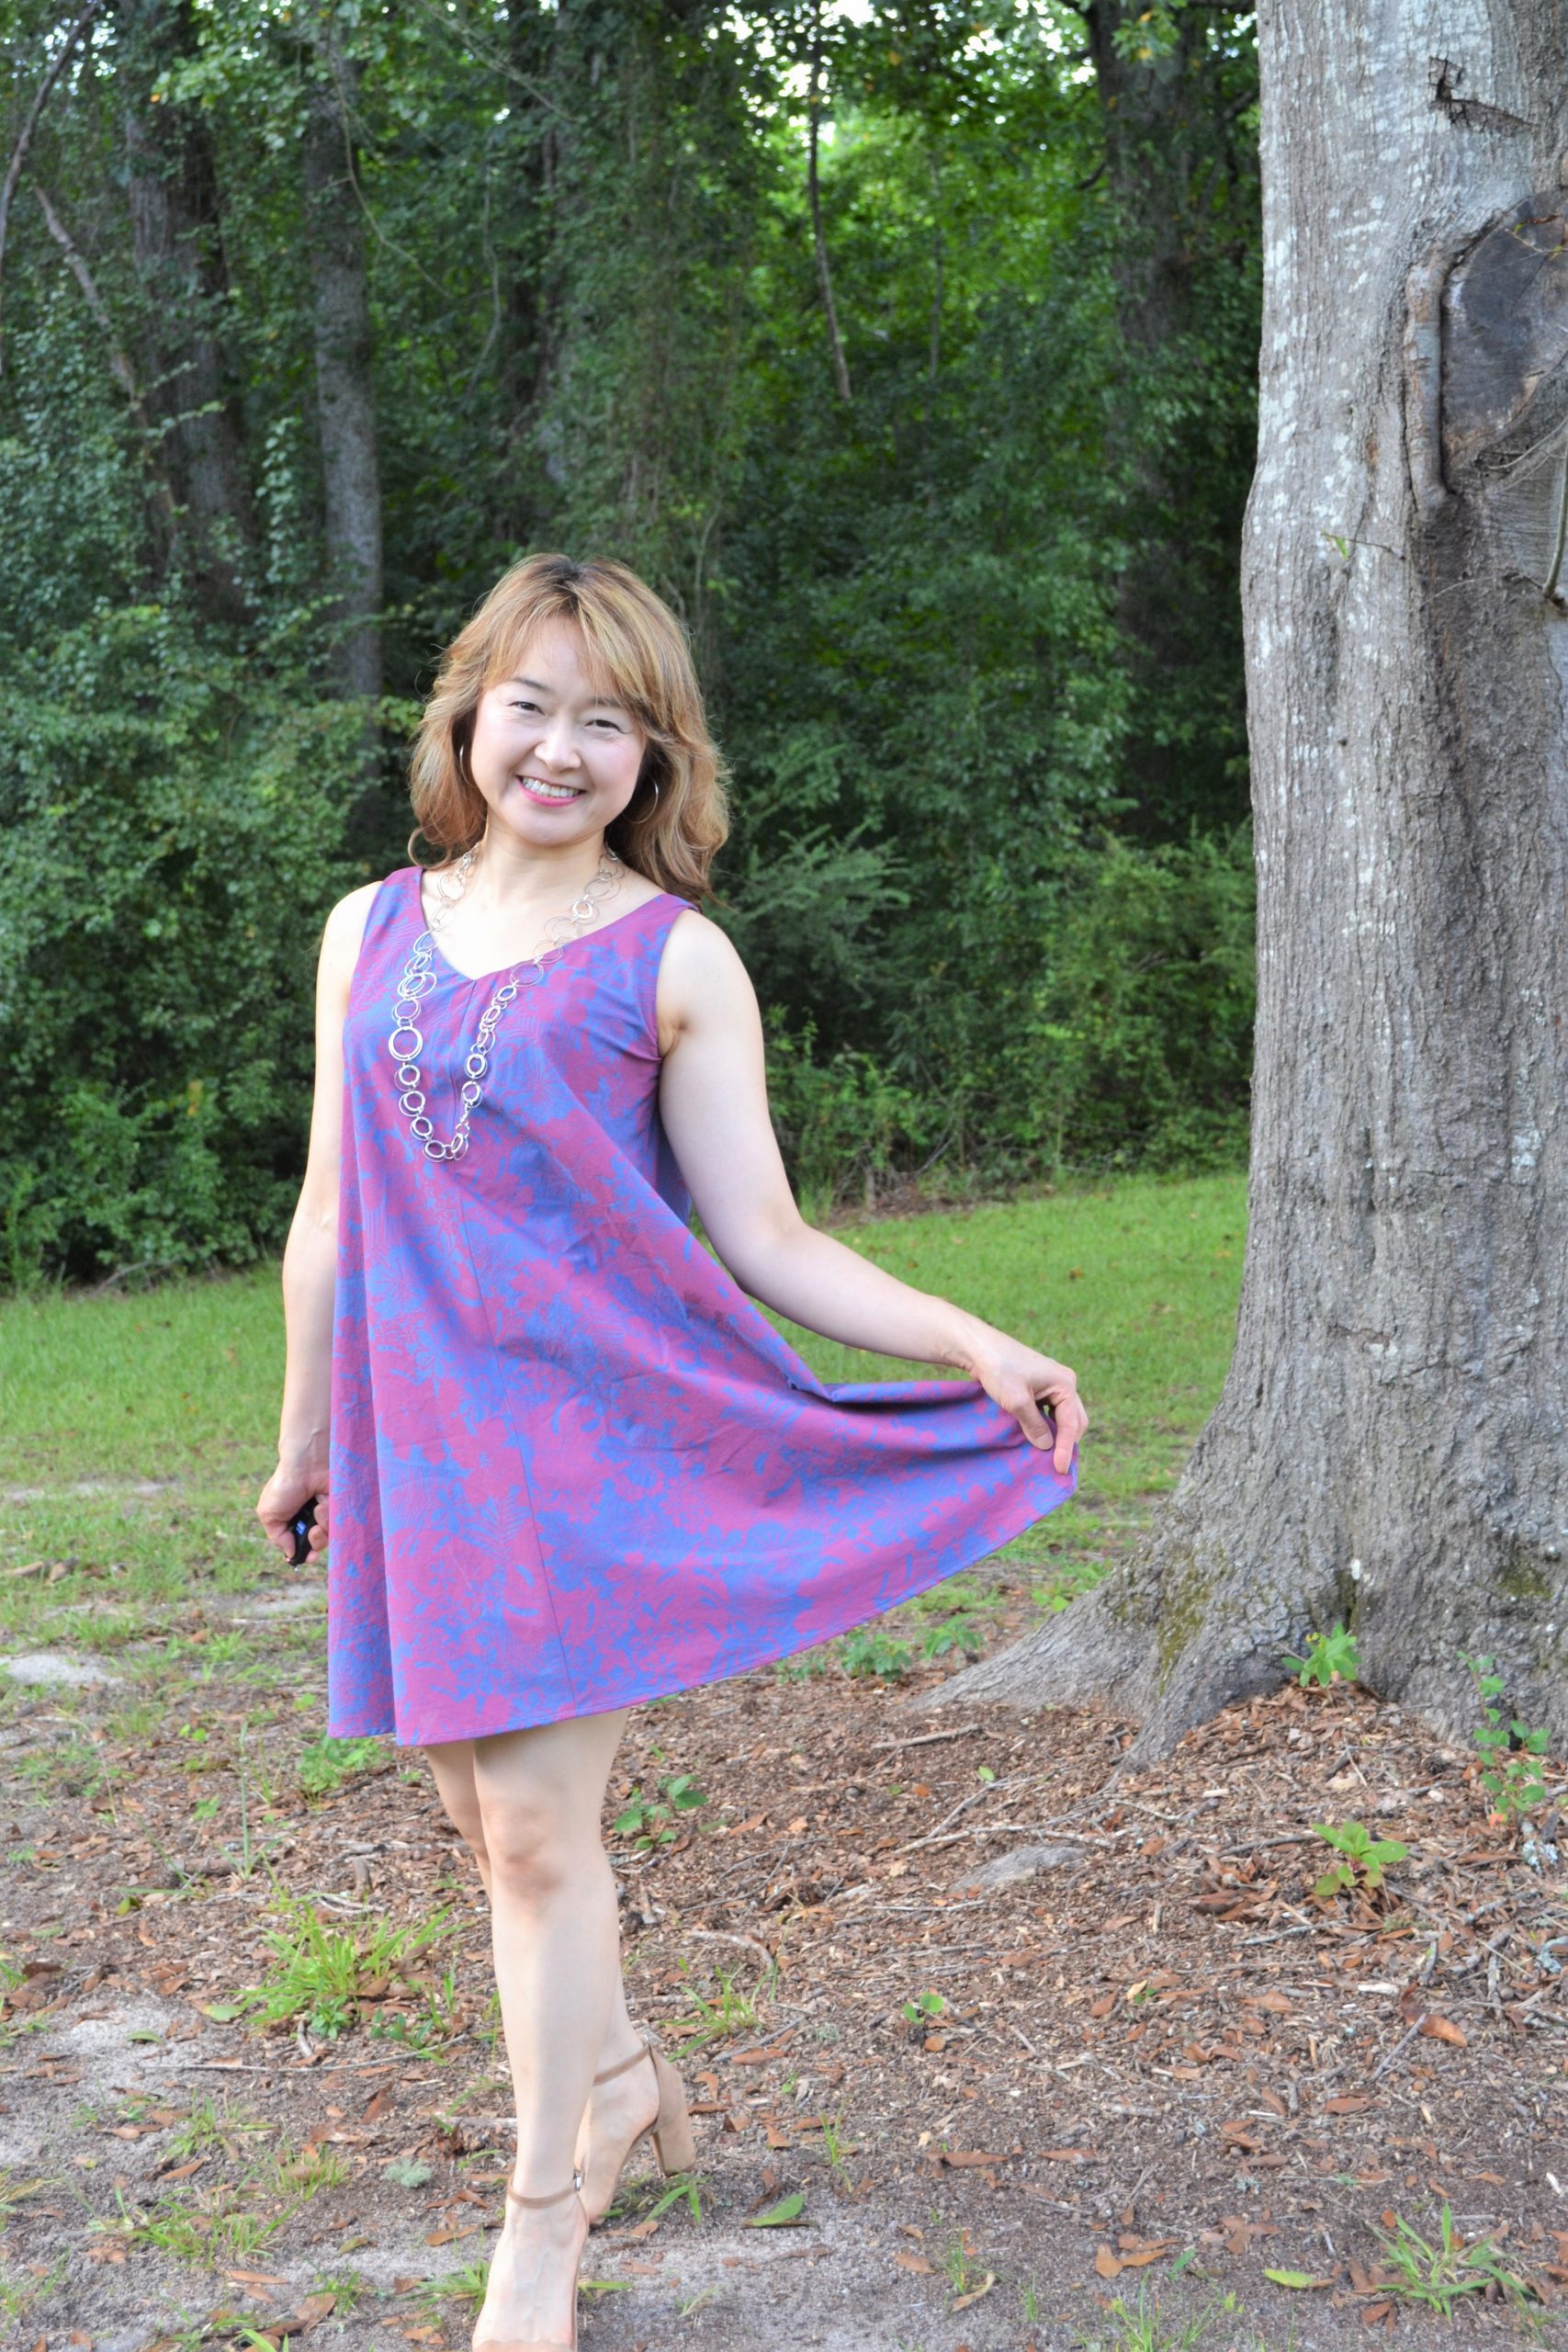
FABRICISTA BLOG POST: MY FIRST SUMMER DRESS FOR 2021, AXIS DRESS
This is a copy of my blog post for Fabric Mart. I am one of their Fabricistas and the original post is HERE.
Happy Friday, everyone!! I am super excited to share about my Axis Dress by Papercut Patterns today.
This dress was love at first sight! For me, longer skirt length of dress and skirt are challenging since I am petite (5’ 1”), but this dress was so pretty that I had to make it.
Now, let’s talk about the fabric. I have been eyeing on this fabric for a while. Just seeing from a picture of it on their website, I knew that it is a high-quality fabric! I think they do a great job showcasing their fabric by putting multiple views. I think that is one of the reasons why I keep clicking “Add to cart” almost every time I go to their website, lol.
I debated between the grape and this orchid pink, but I am very happy that I chose orchid pink. Pink is one of my favorite colors, and I love this fabric that has white in it. I think it gives depth to the fabric.
There are many colors available. You can find them from here. I may have to get different colors while they are still available. This fabric is so soft, easy to work with, and feels great against my skin.
My measurements are 34”, 28”, and 36.5”, so I cut size 3 for the bodice and graded it to 3.5 at the waist. For the skirt, I also cut size 3 and graded up to 3.5 at the waist.
For the pattern adjustment, I took 1” on both front and back bodice as my usual petite adjustment and also took 1” at hip since I am short-waisted.
After I made a muslin of the dress, I noticed that there is gaping around the armhole, so I adjusted it by adding a bust dart on the front bodice and front-facing. And then I realized that the original dart and the bust dart I added were not lining up at the apex, so I moved the original darts towards the side seams. This adjustment is pretty straightforward. I draw a rectangle around the dart and cut, then slide it to where it lign up at the apex and tape it. This adjustment creates an empty space, so I fill in with the paper.
Here is a tip that I learned from somewhere. I keep stripes of pater in handy for pattern adjustment. 1” or 1.5” of with will do. I clip them and store them with my pattern-making tools. You can also hang it on the wall if you like.
For the hem, I shorten 2” first, but it was way too long for my liking, so I shorten another 3”.
I didn’t want to do that first because I thought it will distore the design of the dress, but by raising the slit about a inch did the trick for me that I think this dress still looks well balanced. I am happy with my decision.
Until next time!
Happy Sewing!
Meg


